Chocolate Peppermint Protein Balls

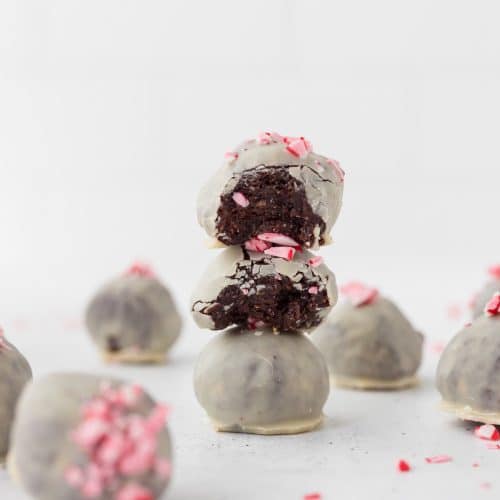
These Chocolate Peppermint Protein Balls have a chewy chocolate center, a white chocolate coating and crushed candy canes on top. Make a batch for Christmas snacking or keep a few in the freezer for later.

QUICK LOOK: CHOCOLATE PEPPERMINT PROTEIN BALLS
⏱️ Prep time: 10 minutes
❄️ Chilling time: 1 hour 20 minutes
🕒 Total time: 1 hour 30 minutes
🍽️ Yield: 14 protein balls
💡 Difficulty: Easy, no baking required
🥣 Key ingredients: Medjool dates, almond butter, chocolate protein powder, cocoa and peppermint extract
🌿 Dietary info: Use maple syrup and vegan packaged ingredients for a vegan version. For gluten-free, use certified gluten-free oats and check the other ingredient labels.
🎄 Make them for: Christmas snack trays, holiday meal prep or small gifts that can be kept refrigerated
Think peppermint bark with a soft, chewy center. These Chocolate Peppermint Protein Balls are made with Medjool dates, almond butter, cocoa and chocolate protein powder, then dipped in white baking chips and topped with crushed candy canes.
They fit right in on a Christmas snack tray, especially when the oven is already full of cookies. The food processor does the mixing, and most of the total time is spent waiting for the balls to chill and the coating to set. You can make them ahead for a holiday get-together or freeze a batch to pull out a few at a time.
I used Camino vegan white baking chips for the coating. They give the balls a creamy outer layer that goes well with the chocolate center and peppermint crunch.
For another chocolate-mint treat, try my Peppermint Sugar Cookie Bars or my Peppermint Patty Chocolate Covered Dates. You can also find more flavors in my No-Bake Energy Ball Roundup. And if you’re looking for more Christmas ideas, check out my collection of cookie tray ideas.
Why These Work for Christmas
What You’ll Need

Ingredients to Make My No Bake Chocolate Peppermint Protein Balls
For the Base:
For the Coating:
This page may contain referral links for products I use and love. As an Amazon Associate, The Sprinkled Cakery earns a small commission on these links at no cost to you. Read my full disclosure here.
Recommended Tools
- Baking tray
- Parchment paper
- Forks for dipping balls
- Measuring Cups & Spoons
- Food Processor
How to Make Chocolate Peppermint Protein Balls
Time needed: 1 hour and 20 minutes
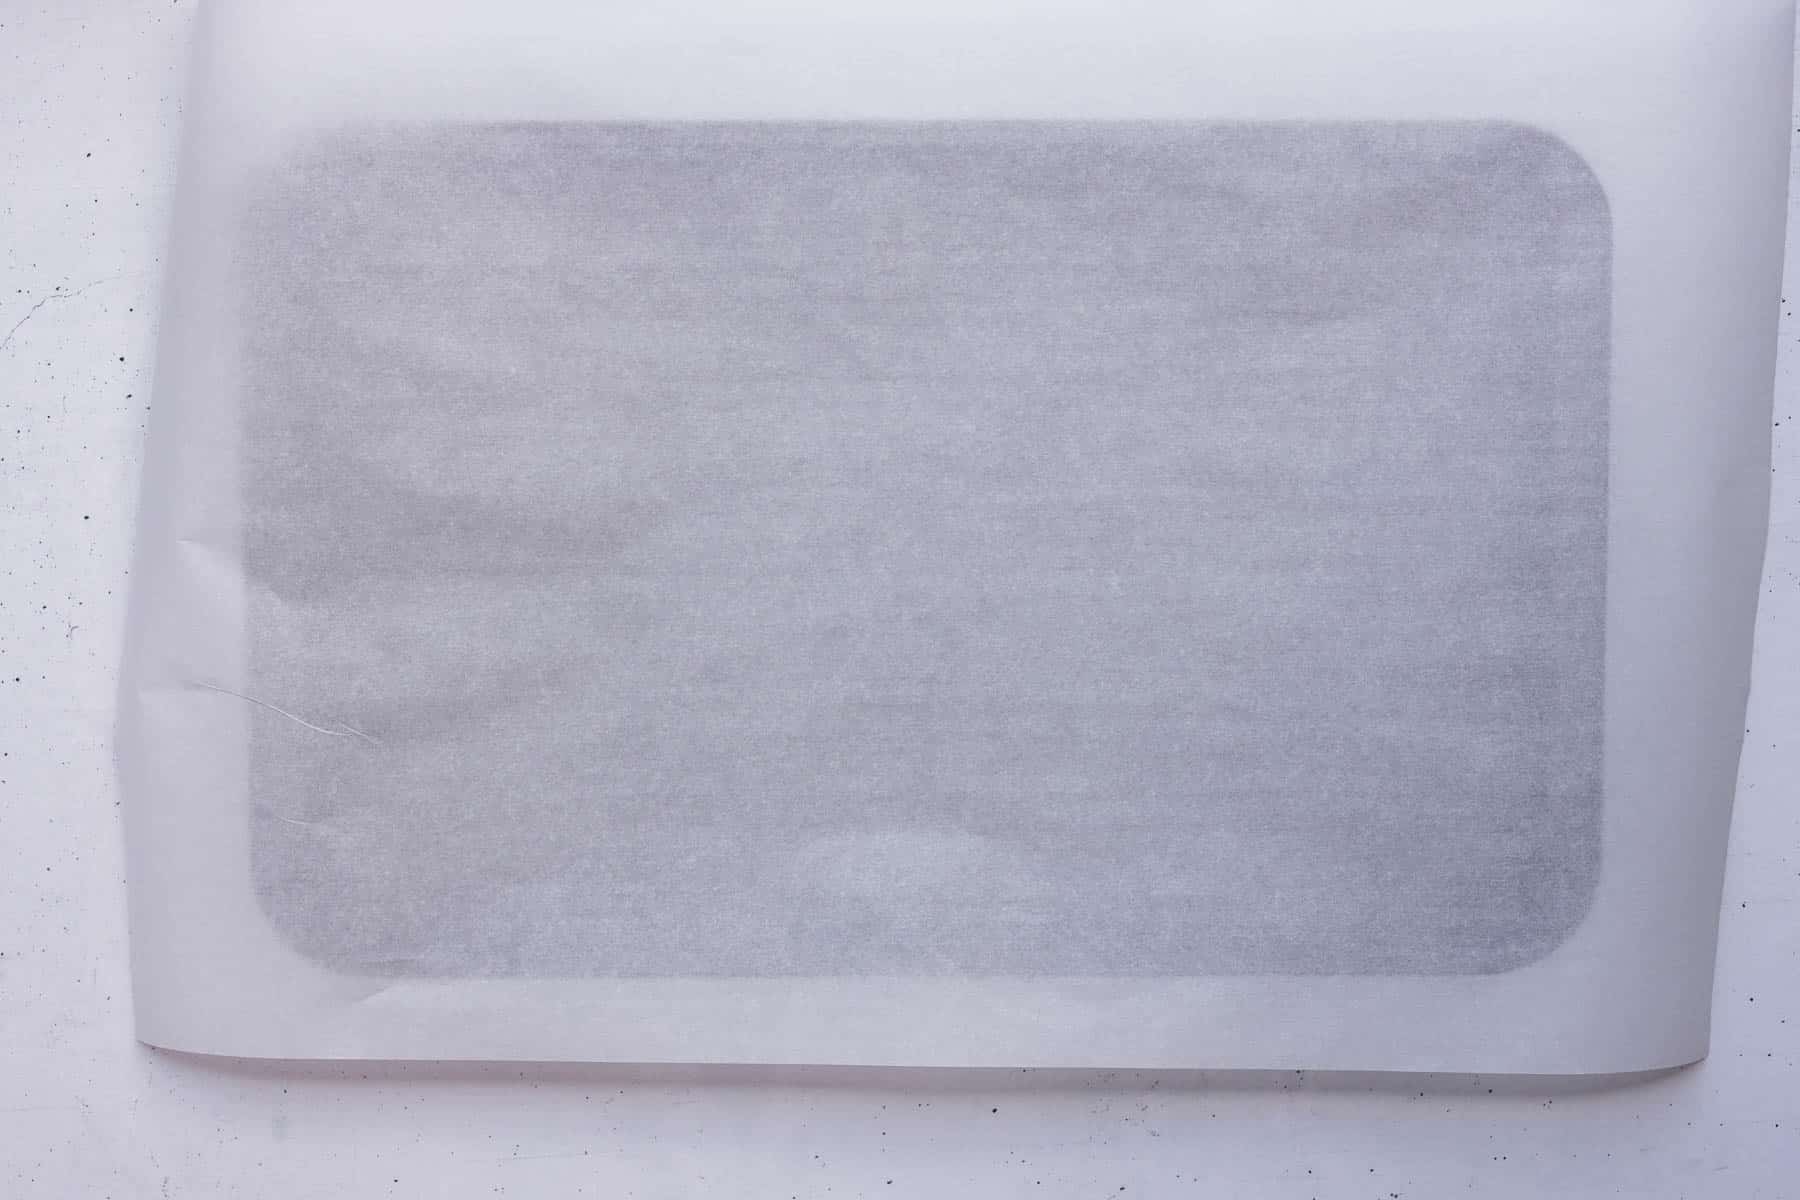
- Prep your tray
Line a baking sheet with parchment paper and set aside.

- Blend the base
In a food processor, blend the dates, nut butter, and honey or maple syrup until smooth and sticky.
- Add the dry ingredients
Add the protein powder, oats (or almond flour), cocoa powder and peppermint extract and blend until a thick dough forms.
NOTE: If the mixture looks dry or crumbly, add 1–2 tablespoons of water to help it come together.
- Roll into balls
Scoop and roll into 12-16 bite-sized balls. I used a tablespoon to measure the balls out, and made 14 balls. You could also use a small cookie scoop. Place them on the parchment-lined tray and refrigerate for 20 minutes to firm up.
- Coat in chocolate
Melt white baking chips and coconut oil together in 20–30 second increments in the microwave (or use a double boiler) until smooth. Using two forks, dip each ball into the melted chocolate and place them back on the tray. The coating is thin, so if you like a thick coating, do a double dip after you’ve finished doing the initial dip for all of the protein balls.
- Decorate and chill
Before the coating sets, sprinkle each ball with crushed peppermint candies.
Refrigerate for about 1 hour, or until the chocolate coating has hardened.


Making Peppermint Protein Balls Without a Food Processor
With a blender: Use a high-powered blender designed to handle thick mixtures. Blend the dates, almond butter and sweetener in small batches, stopping to scrape down the sides. Transfer to a bowl and mix in the remaining ingredients by hand. If the blades stop moving the mixture, stop the blender rather than letting it run against the thick paste.
Check the texture before adding water. The dough should hold its shape when squeezed. Some plant-based powders absorb more moisture than others, so use the texture as your guide.
Fix crumbly dough gradually. Add water a teaspoon at a time and process again. A large splash can turn a dry mixture into a sticky one before you realize it.
Let sticky dough rest. Give the oats and protein powder a few minutes to absorb moisture, then chill briefly if needed. If it is still too sticky to shape, work in a small amount of finely ground oats. This adjustment changes the final ingredient amounts and nutrition.
Chill before dipping. Firmer centers are easier to lift with forks and less likely to fall apart in the coating.
Keep the coating bowl dry. Water can make melted chocolate or baking chips seize. Keep the peppermint extract in the dough instead of adding it to the coating.
Tips for Dough That Holds Together
Check the texture before adding water. The dough should hold its shape when squeezed. Some plant-based powders absorb more moisture than others, so use the texture as your guide.
Fix crumbly dough gradually. Add water a teaspoon at a time and process again. A large splash can turn a dry mixture into a sticky one before you realize it.
Let sticky dough rest. Give the oats and protein powder a few minutes to absorb moisture, then chill briefly if needed. If it is still too sticky to shape, work in a small amount of finely ground oats. This adjustment changes the final ingredient amounts and nutrition.
Chill before dipping. Firmer centers are easier to lift with forks and less likely to fall apart in the coating.
Keep the coating bowl dry. Water can make melted chocolate or baking chips seize. Keep the peppermint extract in the dough instead of adding it to the coating.
Chocolate Peppermint Protein Balls Variations
- Grain-free: Replace oats with almond flour to make these protein balls grain free.
- Dark chocolate coating: Use dairy-free dark chocolate instead of white baking chips if you prefer a stronger chocolate flavor.
- Protein boost: Stir in hemp seeds, chia seeds or a scoop of collagen to the mixture.
- Peppermint Mocha: Add a tsp of espresso powder to the mix and a drizzle of dark chocolate on top of the balls before adding the crushed peppermints.
- A lighter coating: Drizzle the melted chips over the chilled balls instead of fully dipping them.

Macros (per protein ball, based on 14 balls)
- Calories: 180 kcal
- Protein: 6g
- Fat: 9g
- Carbs: 24g
- Fiber: 3g
- Sugar: 13g
Note: Macros are approximate and will vary slightly depending on the ingredients used.
Frequently Asked Questions
Use a chocolate protein powder you already enjoy and measure 60g. Different powders absorb different amounts of moisture, so stop adding water as soon as the dough holds together. Choose a vegan powder if needed.
Absolutely. Use sunflower seed butter or tahini instead of nut butter.
Yes! I recommend doubling or tripling the recipe to make a big batch. To freeze, place the balls on a baking sheet and freeze until solid, then transfer to a freezer-safe bag or container. If you are putting them in layers, place sheets of parchment paper inbetween each one to avoid sticking. They’ll keep for up to 3 months.
To enjoy, thaw in the fridge overnight or let sit at room temperature for about 10–15 minutes before eating.
Freezing Tip: Freeze them without the candy cane topping for the best texture — add a little melted chocolate drizzle to stick it on after thawing for extra crunch!
They’re the perfect mix — sweet like dessert but full of protein and nutrients for lasting energy.
The powder adds dry bulk as well as protein, so leaving it out will change the dough. A version without protein powder needs its own texture adjustments and has not been tested with these amounts.
Keep them refrigerated for storage and gifting. The coating can soften in a warm room, so serve small batches from the fridge and keep the rest chilled until needed.
More Christmas Treats You’ll Love:
- Irresistible Biscoff Toffee Crack
- Christmas Reindeer Crack Toffee (Easy Saltine Toffee Recipe for Kids)
- Christmas Crack Date Bark (Refined Sugar-Free, Gluten-Free, Dairy-Free)
- Santa Buttercream Frosting Board: A Festive Dessert Board for Your Holiday Gatherings
- Easy Biscoff Puff Pastry Christmas Tree Holiday Dessert Recipe
If you are planning a larger spread, my Christmas Cookie Tray Ideas has more recipes to add alongside these balls.
Chocolate Peppermint Protein Balls (Refined Sugar-Free, No Bake, High Protein, Vegan)
Equipment
- 1 Baking Sheet
- 1 Parchment Paper
- 1 Bowl to melt chocolate
- 1 Fork to dip
- Measuring spoons & bowls
- 1 Food Processor or High Speed Blender
Ingredients
Base:
- 1 cup Medjool dates ,about 8–10, pitted
- ½ cup almond butter
- 2 scoops chocolate protein powder ,60g
- ¼ cup gluten-free rolled oats or almond flour for grain-free
- 2 tbsp cocoa powder
- 2 tbsp honey or maple syrup
- 1 tsp peppermint extract
Coating:
- 1 bag white baking chips (I used Camino Brand)
- 1 tsp coconut oil
- Crushed peppermint candies (I used 4-5 mini candy canes)
Instructions
Step 1: Prep your tray
- Line a baking sheet with parchment paper and set aside.


Step 2: Blend the base
- In a food processor, blend the dates, almond butter and honey or maple syrup until sticky and the dates are finely broken down. Scrape the bowl as needed.1 cup Medjool dates, ½ cup almond butter, 2 tbsp honey

Step 3: Add the dry ingredients
- Add the protein powder, oats, cocoa powder and peppermint extract. Process into a thick dough that holds together when pressed. If crumbly, add water 1 teaspoon at a time, up to 1–2 tablespoons as needed.2 scoops chocolate protein powder, ¼ cup gluten-free rolled oats, 2 tbsp cocoa powder, 1 tsp peppermint extract

Step 4: Roll into balls
- Divide into 14 equal portions and roll into balls. For consistent sizes, weigh the dough and divide the weight by 14. Place on the lined tray and refrigerate for 20 minutes.

Step 5: Melt chocolate
- Melt the white baking chips and coconut oil in a clean, dry microwave-safe bowl in 20–30 second intervals, stirring between each, until smooth.1 bag white baking chips, 1 tsp coconut oil

Step 6: Decorate and chill
- Use two forks to dip each chilled ball. Let excess coating drip off, return to the tray and sprinkle with crushed candy canes before the coating sets. Refrigerate for about 1 hour, or until the coating is firm.Crushed peppermint candies

Video
Notes
- Dry dates: Soak in warm water for 5–10 minutes, drain and pat dry before blending. Soaking adds to the listed prep time.
- Protein powder: Weigh 60g instead of relying on the scoop supplied with your brand. Add water gradually because powders absorb moisture differently.
- Other nut butters and flours: Smooth cashew butter can replace the almond butter. You can also use ¼ cup almond flour in place of the oats for a different texture. Almond flour is not suitable for the nut-free option.
- Vegan and gluten-free options: Use maple syrup, vegan protein powder, vegan baking chips and suitable candy canes for vegan. Use certified gluten-free oats and check all other ingredient labels for gluten-free.
- Storage: Refrigerate airtight for up to 10 days. Freeze for up to 3 months for best quality and thaw overnight in the fridge. If freezing ahead, leave off the candy canes and attach them with a little melted coating after thawing.
Macros per ball, based on 14 servings
- Calories: 180 kcal
- Protein: 6g
- Fat: 9g
- Carbs: 24g
- Fiber: 3g
- Sugar: 13g