Homemade Chocolate Chip Granola Bars (Nut-Free & No Bake)

These homemade chocolate chip granola bars are soft, chewy, nut-free, and made with oats, puffed quinoa, flaxseed, and chocolate chips. The perfect homemade snack for lunchboxes, meal prep, and busy school mornings.

QUICK LOOK: NUT FREE CHOCOLATE CHIP GRANOLA BARS
⏱️ Prep Time: 15 minutes
❄️ Chill Time: 2 hours
⏳ Total Time: 2 hours 15 minutes
🍽️ Servings: 12 bars
🔢 Calories: ~180 calories per bar (estimate)
💡 Difficulty: Easy
🥣 Key Ingredients: Oats, puffed quinoa, flaxseed, hemp hearts, honey or maple syrup, coconut oil, chocolate chips
🌿 Dietary Info: Nut-Free, Gluten-Free Option, No-Bake, Vegetarian
✨ Why Your Kids Will Love These Bars: These homemade chocolate chip granola bars are soft, chewy, and made with simple ingredients. The puffed quinoa adds the perfect light crunch, while the oats, flaxseed, and chocolate chips make them a satisfying snack that’s perfect for lunchboxes, after-school snacks, or meal prep.
Between school lunches, sports, and after-school snacks, I feel like I’m constantly making food for my kids. Anyone else?! I love making my own granola bars because they’re SUPER EASY, come together quick and don’t require any baking.
You don’t need puffed quinoa for these bars, but I had a bag sitting in the pantry, so I added it to give them an extra little crunch. You can use puffed rice cereal instead, or even leave them out.
These bars are made with oats, flaxseed, hemp hearts, and chocolate chips, and they’re completely nut-free. I love to keep a container in the fridge for quick lunches and snacks throughout the week.
If you’re filling lunchboxes this week, my Homemade Kind Bars and Birthday Cake Energy Balls are two other recipes we make on repeat.
They’re chewy, chocolatey, easy to make, and honestly don’t last very long around here. And you can grab some more healthy snack inspo in my 25+ Easy Healthy School Snacks post.
Why You’ll Love These Homemade Chocolate Chip Granola Bars
Key Ingredients Notes & Substitutions

Here’s a look at the main ingredients and easy substitutions. * For exact measurements and instructions, scroll down to the recipe card.
This page may contain referral links for products I use and love. As an Amazon Associate, The Sprinkled Cakery earns a small commission on these links at no cost to you. Read my full disclosure here.
Recommended Supplies/Tools
- Measuring cups and spoons
- Large Mixing Bowl
- Spoon or spatula
- 8×8 baking dish
- Parchment paper
How to Make Homemade Chocolate Chip Granola Bars (Nut-Free & No Bake)
Time needed: 2 hours and 15 minutes
- Prepare the Pan
Line an 8×8-inch baking pan with parchment paper.

- Mix the Dry Ingredients
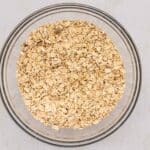
In a large bowl, combine the oats, puffed quinoa, flaxseed, hemp hearts, cinnamon, and salt.
- Warm the Wet Ingredients
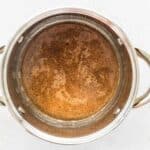
In a small saucepan over medium-low heat, warm the honey, coconut oil, coconut sugar and vanilla until smooth.
- Mix together
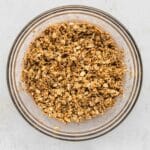
Pour the wet mixture over the dry ingredients and stir until evenly coated.
- Cool and Fold in Chocolate Chips
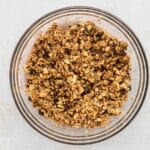
Let the mixture cool for about 5 minutes, then fold in the chocolate chips.
- Press Firmly into Pan
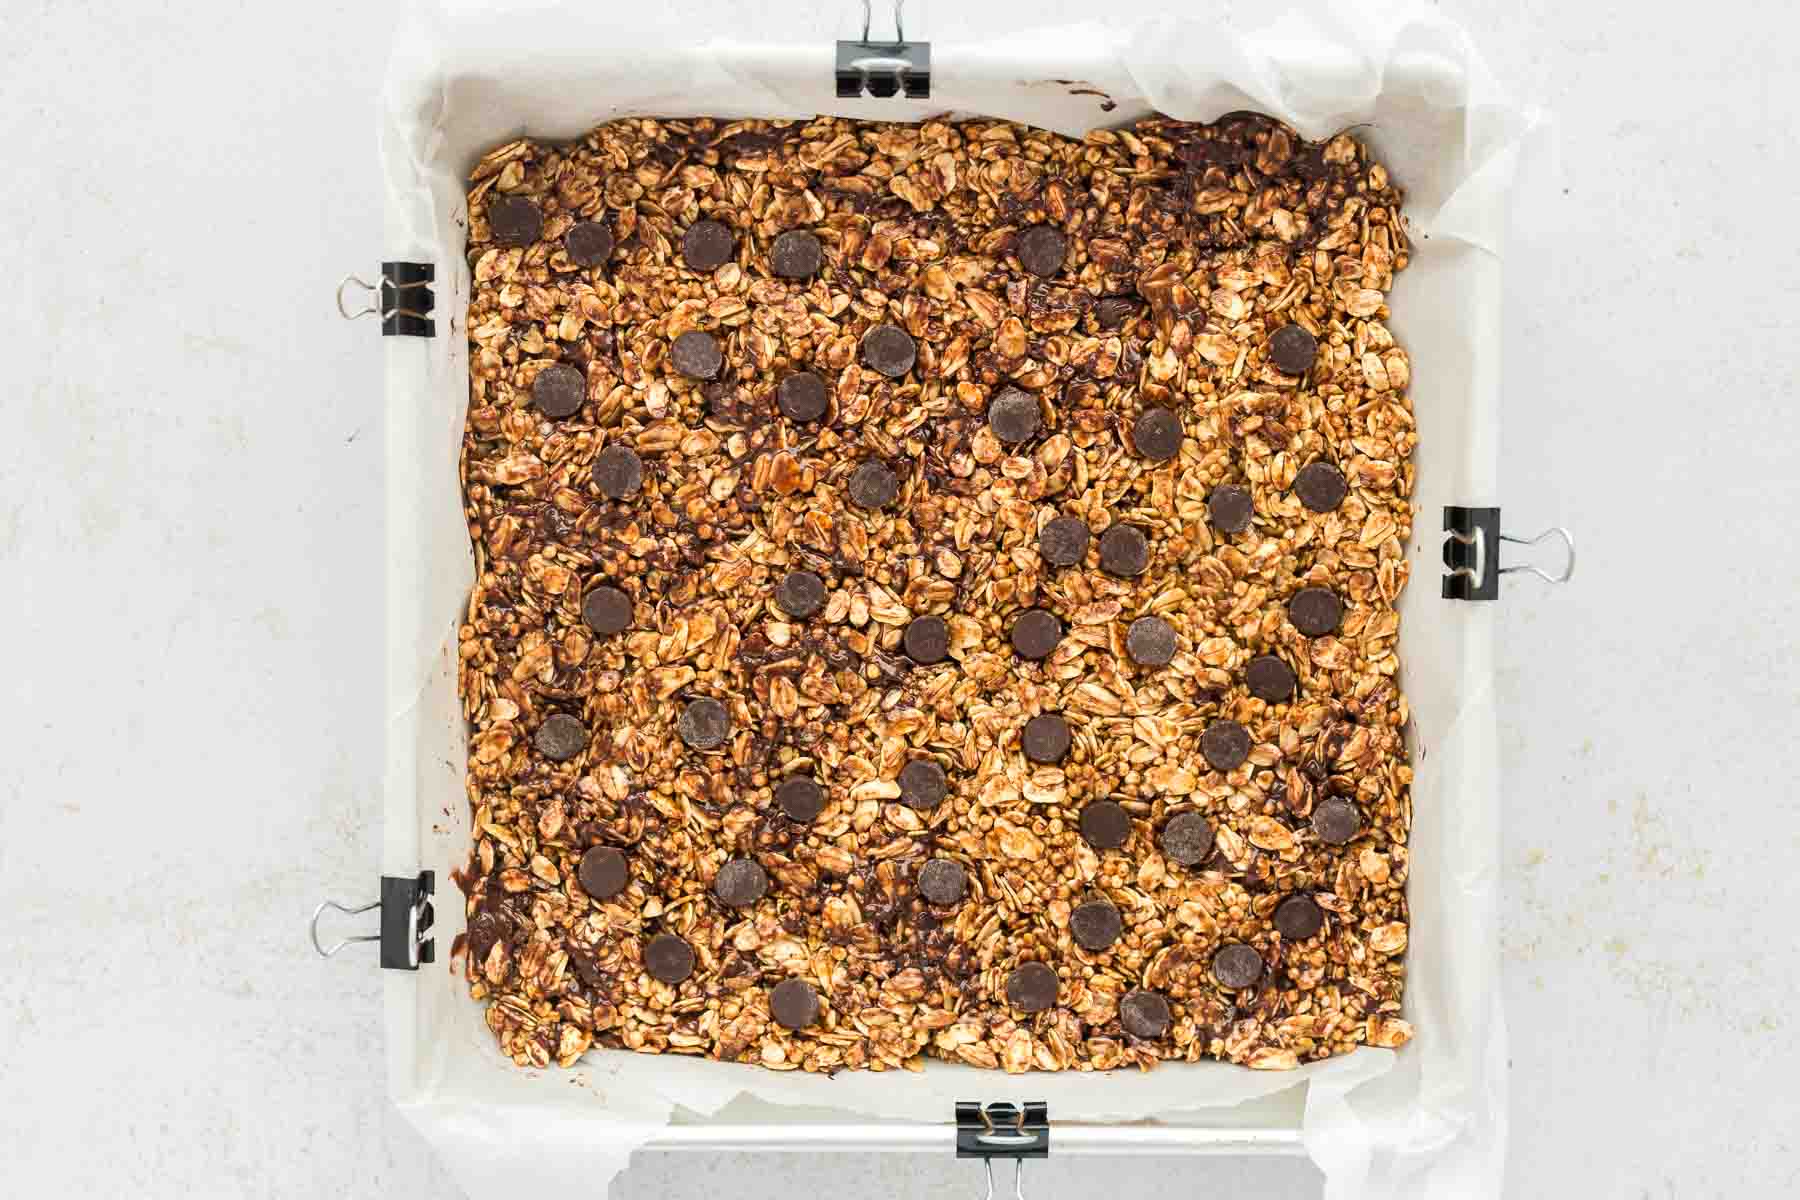
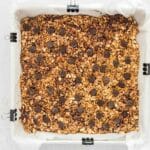
Transfer to the prepared 8×8 pan and press down very firmly. The firmer you press down, the better they will hold together. Sprinkle additional chocolate chips on top, if desired, and gently press them into the bars.
- Cool and Slice
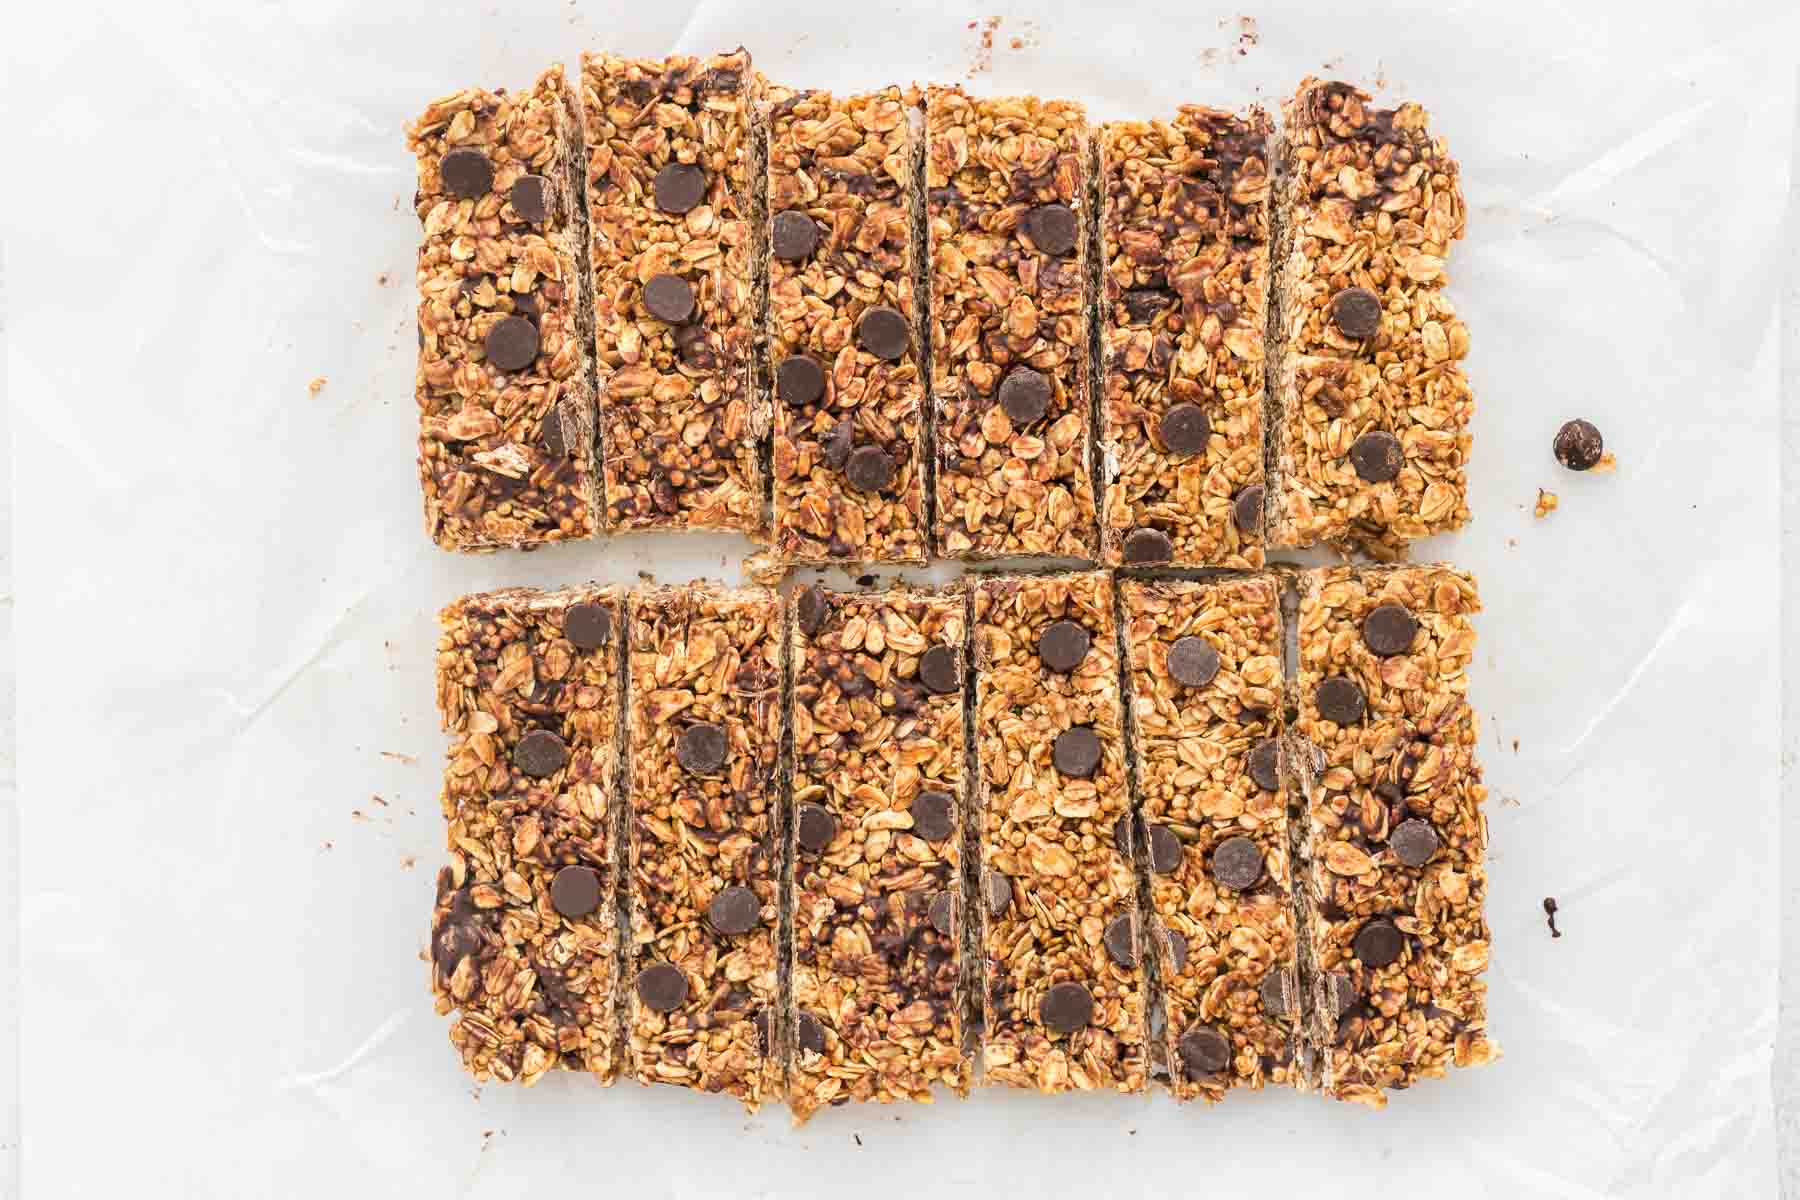
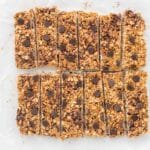
Refrigerate for at least 2 hours until firm. Slice into 12 bars and enjoy.


Looking for More Chocolate Chip Treats? Try One of These Recipes Next:
Homemade Chocolate Chip Granola Bars (Nut-Free & No Bake)
Equipment
- 1 8×8 pan
- 1 Mixing Bowl
- 1 Small pot
- Measuring Cups & Spoons
- Spatula
- Parchment Paper
Ingredients
- 2 cups sprouted rolled oats I use One Degree Sprouted Gluten-Free Oats
- ½ cup puffed quinoa can also use puffed rice cereal
- ¼ cup ground flaxseed
- ¼ cup hemp hearts
- 1 teaspoon cinnamon
- ½ teaspoon salt
- ⅓ cup honey or maple syrup
- ¼ cup coconut oil
- 2 tablespoons coconut sugar
- 1 teaspoon vanilla extract
- ⅓ cup chocolate chips plus extra for topping if desired
Instructions
Prepare the Pan
- Line an 8×8-inch baking pan with parchment paper.

Mix the Dry Ingredients
- In a large bowl, combine the oats, puffed quinoa, flaxseed, hemp hearts, cinnamon, and salt.2 cups sprouted rolled oats, ½ cup puffed quinoa, ¼ cup ground flaxseed, ¼ cup hemp hearts, 1 teaspoon cinnamon, ½ teaspoon salt
Gently Heat the Wet Ingredients
- In a small saucepan over medium-low heat, warm the honey, coconut oil, coconut sugar, and vanilla until smooth.⅓ cup honey, ¼ cup coconut oil, 2 tablespoons coconut sugar, 1 teaspoon vanilla extract
Mix Together
- Pour the wet mixture over the dry ingredients and stir until evenly coated.
Let Cool then Fold in Chocolate Chips
- Let the mixture cool for about 5 minutes, then fold in the chocolate chips.⅓ cup chocolate chips
Press into Pan
- Transfer to the prepared 8×8 pan and press down very firmly. The firmer you press down, the better they will hold together. Sprinkle remaining chocolate chips on top, if desired, and gently press them into the bars.
Chill and Slice
- Refrigerate for at least 2 hours until firm. Slice into 12 bars and enjoy.
Notes
Nutrition Information
Estimated Macros Per Bar based on 12 bars:
- Calories: 185
- Protein: 4g
- Carbohydrates: 23g
- Fiber: 2.5g
- Fat: 9g
- Sugar: 11g
NOTE: Nutrition values are estimates and will vary depending on brands and ingredients used.
Trish’s Tips
These homemade chocolate chip granola bars are on regular rotation in my house. Making them so many times, I’ve learned these simple tips can make a big difference:
- Press the mixture down firmly. This is the most important step for chewy chocolate chip granola bars that hold together and don’t crumble when sliced. Use a measuring cup or something with a firm bottom to create compact bars.
- Let the mixture cool slightly before adding the chocolate chips. This helps prevent the chocolate from melting into the oat mixture. Although I love when mine gets a little melty throughout.
- Use mini chocolate chips if you have them. They distribute more evenly throughout the bars so you get chocolate in every bite.
- Line your pan with parchment paper and use binder clips to secure it into place. The binder clips make sure it stays secure while you press firmly and the overhang makes it easy to lift the granola bars out for clean slicing.
- Chill completely before cutting. Refrigerating the bars for at least 2 hours helps them set properly.
- Store these nut-free granola bars in the refrigerator. They stay firm, chewy, and fresh all week.
Common Mistakes to Avoid
- Not pressing the mixture firmly enough.
- Cutting the bars before they’re fully chilled.
- Adding the chocolate chips while the mixture is still too hot.
- Using less sweetener than called for, which can make the bars fall apart.

Variations & Substitutions
Make Them Vegan
Use maple syrup instead of honey.
Add Protein
Mix in 2 tablespoons collagen peptides or unflavored protein powder.
Add Seeds
Try sunflower seeds or pumpkin seeds for extra crunch.
Use Different Chocolate
Swap semi-sweet chips for dark chocolate chips.
Bake Them
Bake at 325°F for 12–15 minutes for a firmer texture.
Frequently Asked Questions
In most cases, yes. While the upfront cost of ingredients may seem higher, you can usually make a batch of homemade chocolate chip granola bars for less than buying individually packaged bars from the grocery store. Ingredients like oats, flaxseed, and honey stretch across multiple batches, which helps lower the cost per bar. Another bonus is knowing exactly what’s going into them and being able to customize the ingredients to suit your family’s preferences.
The best binder for homemade granola bars is a combination of a sticky sweetener and a fat. In this recipe, honey (or maple syrup) and coconut oil work together to hold the bars together while keeping them soft and chewy. Ground flaxseed also helps with binding. The key isn’t just the ingredients though—pressing the mixture firmly into the pan is what really helps prevent crumbly granola bars.
Homemade granola bars don’t contain the preservatives found in store-bought versions, so proper storage is important. I find that keeping them in an airtight container in the refrigerator helps them stay fresh the longest. Ingredients like honey can also help naturally retain moisture, which keeps the bars from drying out too quickly. For longer storage, freeze the bars and thaw them as needed. This helps maintain both their texture and freshness without adding any preservatives.


