Burn Away Vintage Bento Heart Cake – Perfect for Valentine’s Day!
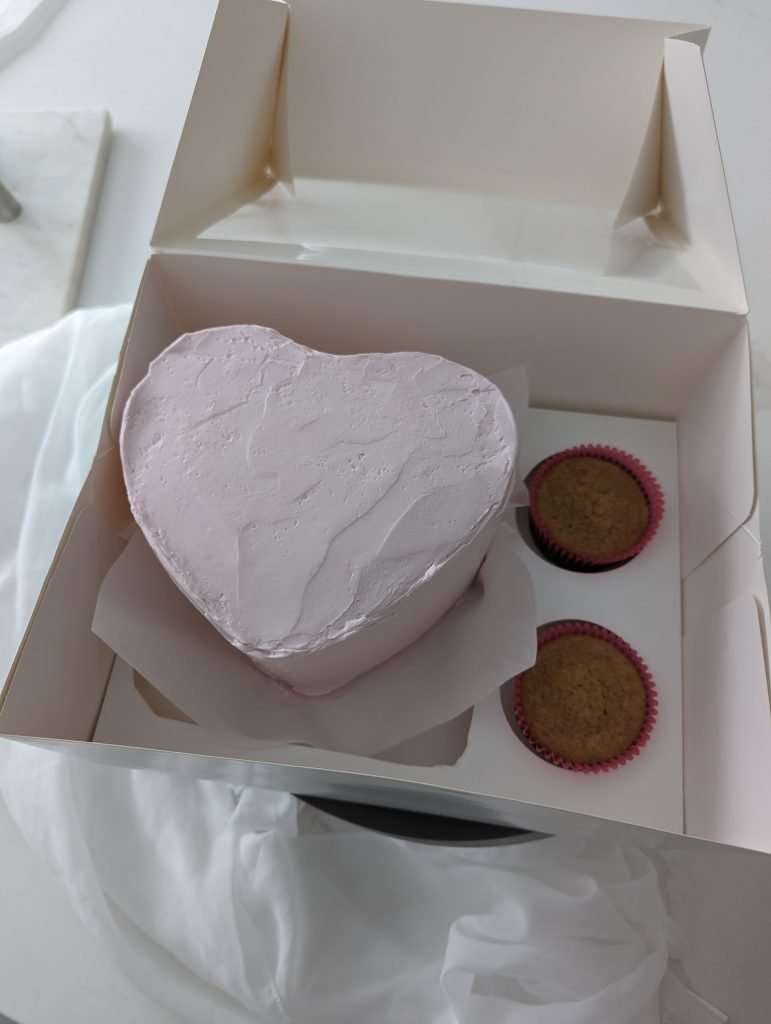
Wow your loved ones this Valentine’s Day with a Valentines Burn Away Bento Heart Cake. This unique cake uses wafer paper and edible paper on top of a mini bento/lunchbox style heart-shaped cake to create the stunning burn away effect.

How to Make A Vintage Style Burn Away Heart Cake
*This page contains referral links for products I use and love. As an Amazon Associate, The Sprinkled Cakery earns a small commission on these links at no cost to you. Read my full disclosure here.
What is a Burn Away Cake
A burn away cake is a cake that starts with a printed image on top that you set on fire. When it burns away, it reveals a hidden edible image underneath. It’s like magic on a cake! Perfect for parties, gender reveals, or just for fun, these cakes will definitely impress everyone.
See the Burn Away Cake in Action
To make the Viral Burn Away Cake, you Need the Following Supplies:
- Two 5 inch prepared and cooled cake layers in any flavour of your choice. You can use a heart shaped pan or a round pan and cut it to make the heart shape using my tips below.
- I recommend my favourite vanilla cake recipe, for this cake. This recipe will make more than one heart cake, so if you only want to make one make sure to half the recipe.
- 1 recipe of your favourite buttercream. I used the Italian Meringue recipe included with my favourite vanilla cake.
- Icing colours if you want to colour your icing. I used Colour Mill Raspberry and Candy. I love Colour Mill colours for the depth of colour they give with just a few drops. These ones are oil based though so if you are using a royal icing, be sure to order the water-based ones.
- Piping tips if you want to make swirls on top of your cake. I used the Wilton 1M for the border and the Wilton 18 star tip for the rosettes on this cake. See my favourite tips for piping vintage designs in the FAQs below.
- Bow silicone mold (not needed, but this is the one I used to create the cute bow on mine)
- Wafer Paper, I used this one from Amazon. You can also order a printed calendar sheet from Amazon if you don’t have a printer.
- Edible Imaging Paper. I like this one from Oasis. You can also order a premade edible image directly from Amazon or even create your own design and have it shipped.
- Edible Printer if you are printing your own images. I use the Canon TS5020
- Note: If you don’t have an edible printer, a lot of grocery stores will print for you or you can try asking in a local bake or moms group to see if anyone local sells any. You can also use edible markers and create your own design on the edible paper and wafer paper. If you are using edible markers, I suggest printing a template and tracing it with your markers onto the wafer paper.
- Barbecue lighter to safely light the wafer paper. Always light the wafer paper carefully using a long barbecue lighter and keep the cake on a heat-safe surface.
Other Cake Recipes You May Want to Use
Easy Chocolate Cake with Cookies & Cream Filling
First Step: Assemble the Bento Cake


- Level the Cake Layers, if necessary:
- If your cake top did not bake even, trim the tops of the cake layers to ensure they are flat and even to produce a level finished cake. This cake was pretty even, so I did not trim the tops.
- If Using Round Layers:
- Cut a v shape into the cake (see images) and use the 2 pieces you cut off to make the top of the heart. Glue together using buttercream.
- Level the Cake Layers, if necessary:
- Place one cake layer on a cake board or serving plate.
- Pipe buttercream around the edge of the cake first, then inside.
- Place the second cake layer on top, gently pressing down.
- Layer and Fill:
- Place one cake layer on a cake board or serving plate.
- Pipe buttercream around the edge of the cake first, then inside.
- Place the second cake layer on top, gently pressing down.
- Crumb Coat:
- Apply a thin layer of buttercream over the entire cake to create a crumb coat.
- Chill the cake in the refrigerator for about 30 minutes to set the crumb coat.
- Final Frosting:
- Once the crumb coat is set, apply a final layer of buttercream, smoothing it with a spatula or bench scraper for a clean finish.
- Chill the cake for 1 hour to set the final layer of frosting.
Watch Me Stack & Fill a Cake Here
Now, the Fun Part, Creating the Burn Away Layers!
To create the burn away layer of the heart cake, you will need the following supplies:
- Wafer Paper. You can order a printed calendar sheet from Amazon if you don’t have a printer.
- Edible Imaging Paper. I like this one from Oasis. You can also order a premade edible image directly from Amazon or even create your own design and have it shipped.
- Edible Printer if you are making your own prints. I use the Canon TS5020
- Note: If you don’t have an edible printer, a lot of grocery stores will print for you or you can try asking in a local bake or moms group to see if anyone local sells any. Or you could order the ones linked above. You can also use edible markers and create your own design on the edible paper and wafer paper. If you are using edible markers, I suggest printing a template and tracing it with your markers onto the wafer paper. You can use my images linked below for the templates.
Create the Wafer Paper Image (this is the image that will be burned away)
To create your wafer paper image, download a PNG that you like, or create the image yourself in Canva. I created the below calendar image you are free to use. Then, print it out using your edible printer. If you don’t have an edible printer, a lot of grocery stores will print for you or you can try asking in a local bake or moms group to see if anyone local sells any. I like to use Cricut Design Space to print mine so that I can cut it out using my Cricut Maker as well. I have mats and knives used solely for edible prints. It is important that you are not using the same equipment for regular paper as you are for your edible ones. When I uploaded the design into Cricut Design Space, I removed the beige background so that I was left with only the heart for my Cricut to cut out. If you are cutting yourself, leave the background in so you can see where to cut.
Create the Edible Image (this is the image that will be revealed once the wafer paper burns away)
I did a search on Google for a free Happy Valentine’s Day PNG and used this one but you can use any image of your choice. Next, I uploaded it into Cricut Design Space and attached it onto a heart shape 5 inches wide, flattened the image and then did a print and cut using my edible printer and Cricut Maker. If you don’t have an edible printer, you can always have these prints made for you and manually cut them out.
Apply the Burn Away Wafer Paper and Edible Image
Get your chilled cake from the fridge and your room temperature icing. Be sure to give your icing a good mix before using it.
Apply a small dab of icing and add your edible image onto the cake.

Next, using a piping bag filled with icing and a border tip of your choice, pipe a border around the edge of the cake. I like to use either a large round or star tip for this. You can even just cut a straight edge off of your disposable piping bag and use it without a tip for this part. Another thing I like to do sometimes so I have one less thing to clean!

Now place your wafer paper design onto the piped border and using various tips and colours, pipe a design around the edge of your wafer paper to create a seamless look. I used the Wilton 1M for the border and the Wilton 18 star tip for the rosettes on this cake.
I chose to do Lambeth/vintage style piping on this cake. Below are my favourite piping tips to achieve this look.
Star tips: Open star tip Wilton 16, 18 and 21. You can also use the 1M or 4B but keep in mind that these are larger tips so should only be used for borders on a small 4″ cake.
Ruffle tips: Wilton 100, 86, 102 and 104 are perfect for adding ruffles to your Bento cake.
Round Cake Decorating Tips: Wilton tips 1-3 are perfect for tiny intricate designs and writing
Of course there are many other piping tips you can use. Play around and see what tips you like best on your cake.
And there you have it, the mesmerizing transformation of a simple cake into a trendy Burn Away! I hope this tutorial inspires you to this Valentine’s Day to surprise your loved ones with a dessert that sets their heart on fire – literally. Happy baking friends!
Frequently Asked Questions
A burn away cake is a viral cake trend that has a wafer paper image on top of the cake which is lit on fire and smoothly burns away, revealing an edible image beneath it. There is a border layer of frosting between the 2 images leaving a slight gap so that the wafer paper has room to burn without burning the cake.
Burn away cakes stand out for their creative effect and jaw dropping appeal. These cakes offer a hughe wow factor, making them perfect for special occasions or events where you want to have that extra wow-factor and impress your guests.
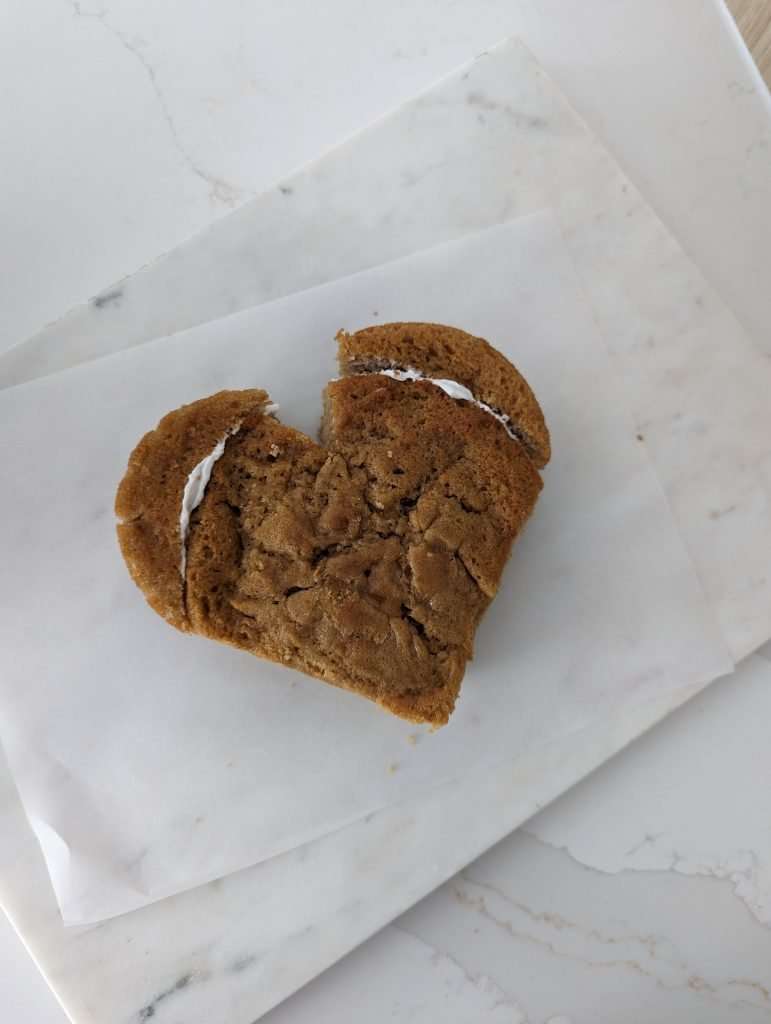
A bento cake is a fusion of traditional cake and the concept of a bento box. Bento box cakes are often 4 or 5 inche cakes, with 2 thin layers of cake and one layer of filling in between. The designs are often simple and they are served in takeout lunch containers.
While a normal cake is usually a larger, single-serving dessert, a bento cake is designed for convenience and visual appeal. Bento cakes are often smaller in size, individually portioned, and creatively decorated, making them perfect for sharing or gifting.
Bento cakes are typically made to be individual cakes, but you can serve up to 4 people with a 4 inch if you’re feeling generous this Valentine’s Day. A 5 inch heart bento cake can serve up to 8.
The Lambeth style of piping is a vintage style of cake decorating that gained popularity in the 1930s. These exquisite cakes showcase intricate piping details, layering buttercream to create an overlayered effect reminiscent of a fluffy, ruffly dress.
Star tips: Open star tip Wilton 16, 18 and 21. You can also use the 1M or 4B but keep in mind that these are larger tips so should only be used for borders on a small 4″ cake.
Ruffle tips: Wilton 100, 86, 102 and 104 are perfect for adding ruffles to your Bento cake.
Round Cake Decorating Tips: Wilton tips 1-3 are perfect for tiny intricate designs and writing
Of course there are many other piping tips you can use, these are my favorites. Play around and see what tips you like best on your cake.
No, the Burn Away Cake will not taste burnt. The burn away effect is created using wafer paper, which burns away smoothly and leaves the underlying edible image intact. The wafer paper burns quickly and does not affect the flavor or texture of the cake itself. You’ll be left with a delicious cake that looks and tastes as amazing as it did before the burn away effect! You can remove the edible image layer to be extra safe.
Take your loved one’s breath away this Valentine’s Day with a Burn Away Bento Heart Cake and literally set their heart on fire!