Biscoff Cottage Cheese Cheesecake (No Protein Powder)

This Biscoff Cottage Cheese Cheesecake is creamy, sliceable and made without protein powder or heavy cream. Greek yogurt and blended cottage cheese add 11–13g of protein per slice, while gelatin helps the no-bake filling set firm enough to slice.

QUICK LOOK: BISCOFF COTTAGE CHEESE CHEESECAKE
⏱️ Prep Time: 25 minutes
❄️ Chill Time: 4 hours minimum (overnight is better)
⏳ Total Time: ~4 hours 25 minutes
🍽️ Servings: 8 to 10 slices
🔢 Calories: ~400 per slice (based on 10)
💡 Difficulty: Easy — no bake, no oven
🥣 Key Ingredients: Biscoff cookies, Biscoff spread, cream cheese, Greek yogurt, cottage cheese, gelatin
🌿 Dietary Info: High-protein, no bake, naturally sweetened with maple syrup
✨ What Makes This Different: Blended cottage cheese + Greek yogurt + gelatin = a firm, sliceable, protein-packed cheesecake — no heavy cream or protein powder needed.
I created this full-size Biscoff Cottage Cheese Cheesecake after so many of you loved my individual Biscoff protein cheesecake cups but asked for a version without protein powder that you could slice and serve for dessert.
This version uses blended cottage cheese and Greek yogurt for the protein, with a little gelatin to help it set firm enough for clean slices. It’s made in a springform pan instead of individual cups, making it a better option when you want one cheesecake to bring to a dinner or serve to a group.
If you’re looking for a single-serve version for meal prep, try my Biscoff Protein Cheesecake Cups instead. Those use protein powder and collagen instead of cottage cheese and only need about an hour to chill.
And if you’re looking for more easy and healthy Lotus Biscoff desserts, try my Biscoff Protein Cottage Cheese Ice Cream, Biscoff Carrot Cake Energy Balls, or Easy 5-Ingredient Biscoff Chocolate Quinoa Clusters next.
Why You’ll Love This Biscoff Cottage Cheese Cheesecake
Key Ingredients Notes & Substitutions
Here’s a look at the main ingredients and easy substitutions for my high protein Biscoff cheesecake recipe made with cottage cheese and Greek yogurt. * For exact measurements and instructions, scroll down to the recipe card.

This page may contain referral links for products I use and love. As an Amazon Associate, The Sprinkled Cakery earns a small commission on these links at no cost to you. Read my full disclosure here.
Recommended Supplies/Tools
- 8 or 9-inch springform pan. This is a great non-toxic option.
- Electric hand mixer or stand mixer
- Blender or food processor (for the cottage cheese — must be fully smooth)
- Mixing bowls – I love using glass ones to keep it non-toxic
- Measuring Cups – I use stainless steel for non-toxic
- Parchment paper
- Offset spatula for smoothing the top – optional
How to Make Biscoff Cottage Cheese Cheesecake
Time needed: 4 hours and 25 minutes
- Make the Crust
Step 1: Make the Crust
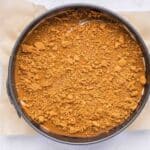
Crush 200g of Biscoff cookies into fine crumbs using a food processor or a zip-lock bag and rolling pin. Add the melted coconut oil and maple syrup and mix until it looks like wet sand — it should clump together when you press it between your fingers.
Press the mixture firmly and evenly into the base of a lined 8-inch springform pan lined on the bottom with parchment paper. Use the flat bottom of a measuring cup or clean hands to push it down evenly. Refrigerate while you make the filling.
- Bloom the Gelatin (Important — Don’t Skip This)
Blooming gelatin properly is what gives this cheesecake a firm, sliceable texture. Here’s how to do it:
– Pour 2 to 3 tablespoons of warm (not boiling) milk into a small bowl.
– Sprinkle 2 teaspoons of powdered gelatin over the surface of the milk. Do not stir yet.
– Let it sit for 5 minutes. The gelatin will absorb the liquid and look spongy and thick.
– Microwave for 10 to 15 seconds, just until the gelatin is fully dissolved and liquid. Stir to confirm there are no granules left.
– Let it cool for 2 to 3 minutes so it’s warm but not hot before adding it to the filling. Do not let it sit too long or it will set before you add it to the filling.
Note: If you add hot gelatin directly to the filling it can create streaks or cause the mixture to seize. Let it cool slightly first, then stream it in slowly while the mixer is running.
- Blend the Cottage Cheese and Cream Cheese
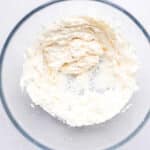
Blend your cottage cheese until completely smooth. It should look like sour cream with no lumps. Set aside. In the bowl of a stand mixer or a large mixing bowl, beat the softened cream cheese with an electric mixer on medium speed until completely smooth with no lumps at all. This is the most important step. If there are lumps in the cream cheese now, they’ll be in the cheesecake.
- Make the Biscoff Cheesecake Filling
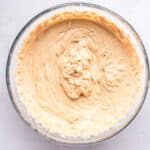
Add the Greek yogurt, Biscoff spread, blended cottage cheese, maple syrup, vanilla, and lemon juice. Beat until fully combined, smooth, and thick. With the mixer running on low, slowly drizzle in the cooled (but still liquid) bloomed gelatin. Increase to medium and beat for another 30 seconds until fully incorporated. Taste the filling and adjust sweetness if needed.
- Assemble
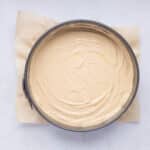
Pour the filling over the chilled crust and smooth the top with a spatula or offset spatula. Cover with plastic wrap or a lid and refrigerate for a minimum of 4 hours. Overnight is better — the cheesecake will be firmer and slices will be cleaner.
- Add the Topping
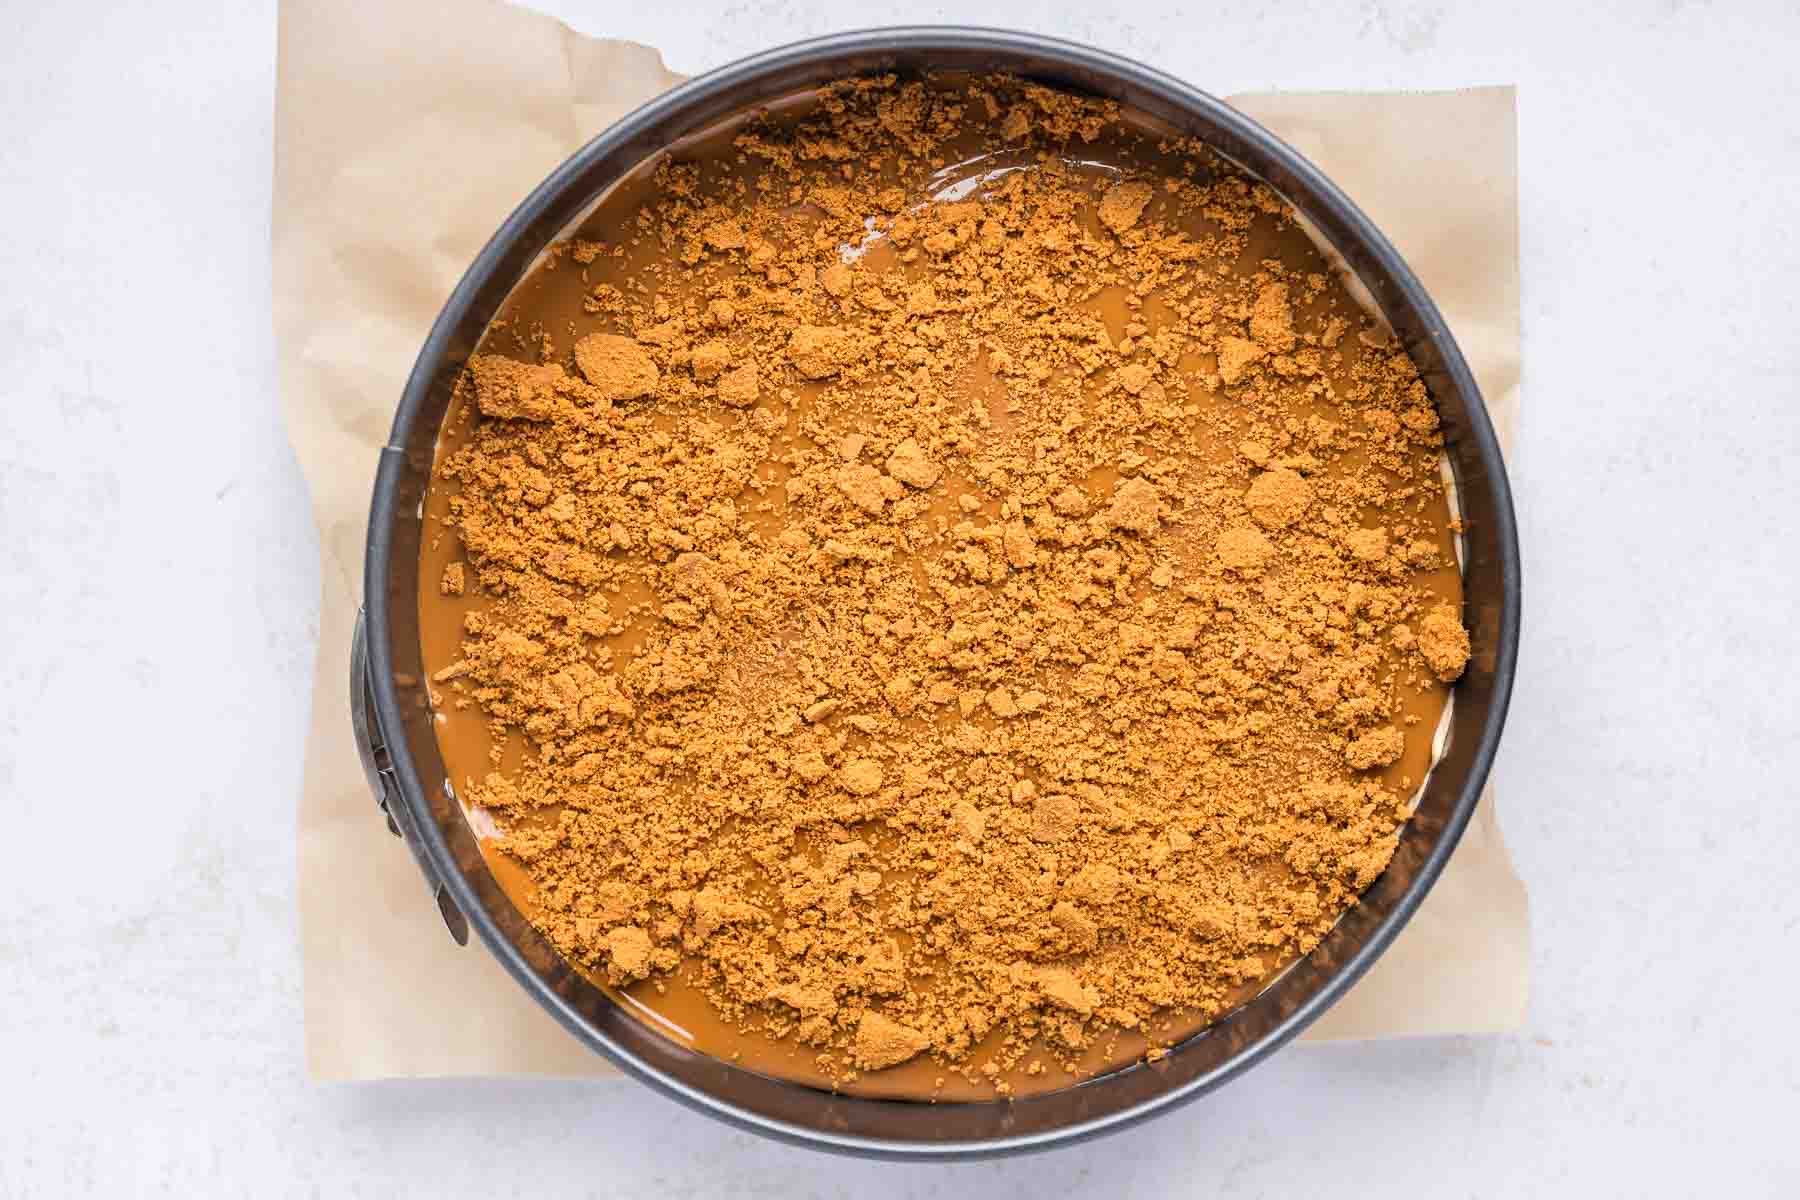
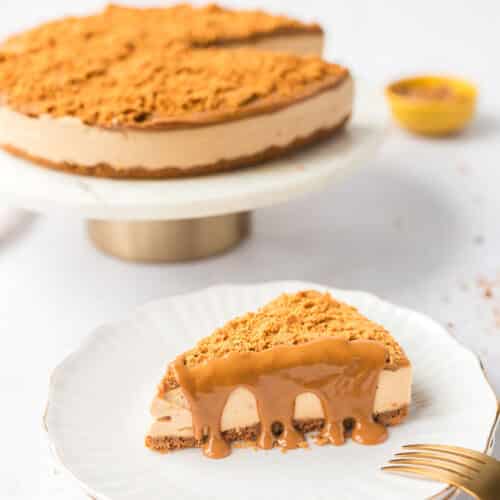
When you’re ready to serve, melt 1 cup of Biscoff spread in the microwave in 20-second intervals, stirring between each, until pourable. Drizzle or spread over the top of the chilled cheesecake and scatter roughly crushed Biscoff cookies over top. Slice and serve.


Biscoff Cottage Cheese Cheesecake (No Protein Powder)
Equipment
- 1 8 or 9-inch springform pan
- 1 Stand or Hand Mixer
- 1 food processor or blender
- 1 Parchment Paper
- 1 Mixing bowls
- 1 Measuring cups and spoons
- 1 Offset Spatula
Ingredients
For the Crust:
- 200 g Lotus Biscoff cookies ~24 cookies, crushed to fine crumbs
- 3 tbsp coconut oil melted
- 1 tbsp maple syrup
For the Filling:
- 250 g full fat cream cheese softened to room temperature
- 1 cup plain full fat Greek yogurt
- 1 cup Biscoff spread creamy
- 1 cup cottage cheese blended completely smooth
- 3 tbsp maple syrup
- 1 tsp vanilla extract
- Juice of half a lemon optional but recommended
- 2 tsp powdered gelatin
- 2 to 3 tbsp warm milk to bloom the gelatin
For the Topping:
- 1 cup Biscoff spread melted
- 4 to 5 Biscoff cookies roughly crushed
Instructions
Step 1: Make the Crust
- Crush 200g of Biscoff cookies into fine crumbs using a food processor or a zip-lock bag and rolling pin. Add the melted coconut oil and maple syrup and mix until it looks like wet sand (it should clump together when you press it between your fingers). Press the mixture firmly and evenly into the base of a parchment-lined 8-inch springform pan. Use the flat bottom of a measuring cup or clean hands to push it down evenly. Refrigerate while you make the filling.200 g Lotus Biscoff cookies, 3 tbsp coconut oil, 1 tbsp maple syrup

Step 2: Bloom the Gelatin (Important — Don’t Skip This)
- Blooming gelatin properly is what gives this cheesecake a firm, sliceable texture. Here's how to do it: Pour 2 to 3 tablespoons of warm (not boiling) milk into a small bowl. Sprinkle 2 teaspoons of powdered gelatin over the surface of the milk. Do not stir yet. Let it sit for 5 minutes. The gelatin will absorb the liquid and look spongy and thick. Microwave for 10 to 15 seconds, just until the gelatin is fully dissolved and liquid. Stir to confirm there are no granules left. Let it cool for 2 to 3 minutes so it's warm but not hot before adding it to the filling. Note: If you add hot gelatin directly to the filling it can create streaks or cause the mixture to seize. Let it cool slightly first, then stream it in slowly while the mixer is running.2 tsp powdered gelatin, 2 to 3 tbsp warm milk
Step 3: Make the Filling
- Blend your cottage cheese until completely smooth — it should look like sour cream with no lumps. Set aside. In a large mixing bowl, beat the softened cream cheese with an electric mixer on medium speed until completely smooth with no lumps at all. This is the most important step. If there are lumps in the cream cheese now, they'll be in the cheesecake.250 g full fat cream cheese, 1 cup cottage cheese
- Add the Greek yogurt, Biscoff spread, blended cottage cheese, maple syrup, vanilla, and lemon juice. Beat until fully combined, smooth, and thick. With the mixer running on low, slowly drizzle in the cooled (but still liquid) bloomed gelatin. Increase to medium and beat for another 30 seconds until fully incorporated. Taste the filling and adjust sweetness if needed.1 cup plain full fat Greek yogurt, 1 cup Biscoff spread, 3 tbsp maple syrup, 1 tsp vanilla extract, Juice of half a lemon
Step 4: Assemble
- Pour the filling over the chilled crust and smooth the top with a spatula or offset spatula. Cover with plastic wrap or a lid and refrigerate for a minimum of 4 hours. Overnight is better — the cheesecake will be firmer and slices will be cleaner.
Step 5: Add the Topping
- When you’re ready to serve, melt 1 cup of Biscoff spread in the microwave in 20-second intervals, stirring between each, until pourable. Drizzle or spread over the top of the chilled cheesecake and scatter roughly crushed Biscoff cookies over top. Slice and serve.1 cup Biscoff spread, 4 to 5 Biscoff cookies
Video
Notes
Approximate Macros Per Slice
(Based on 10 slices) Calories: ~400 | Protein: ~11–13g | Carbs: ~35–40g | Fat: ~26–30gMacros (Per slice – Approximate, based on 10 slices)
- Calories: ~400
- Protein: ~11–13g
- Carbs: ~35–40g
- Fat: ~26–30g
NOTE: Nutrition information is an estimate based on the ingredients used and may vary depending on brands and substitutions.
Trish’s Tips for a Firm, Sliceable Cottage Cheese Cheesecake
If you want your cheesecake to turn out perfect every time, follow my pro tips I used in my professional baking business:
- Room temperature cream cheese is non-negotiable: Cold cream cheese will not beat smooth. Leave it out for at least 30 to 45 minutes before you start.
- Blend the cottage cheese until it’s truly smooth: If you can see any texture, keep blending. A lumpy cottage cheese = a lumpy filling.
- Don’t skip the lemon juice: It’s just half a lemon, but it makes the whole filling taste brighter and more balanced. Without it, the cream cheese can taste flat.
- The gelatin is your best friend: The bloomed gelatin is what makes this cheesecake actually sliceable. Don’t skip it and don’t rush it.
- If the filling feels too loose after mixing: Add an extra tablespoon of protein powder and refrigerate longer. It will firm up.
- If the filling feels too thick: Add a small splash of oat milk and mix again until smooth.
- For cleanest slices: Dip your knife in hot water and wipe it clean between each cut. And make sure the cheesecake is fully chilled — overnight is best.
- Add the Biscoff drizzle right before serving, not hours ahead: This keeps it glossy and fresh.

Frequently Asked Questions
It tastes like a Biscoff cheesecake. The Greek yogurt and cottage cheese are completely undetectable once everything is blended and chilled. The dominant flavors are cream cheese and Biscoff. It’s rich, sweet, and creamy.
You can, but the cheesecake will be softer and harder to slice cleanly. If you skip the gelatin, plan to serve it in small squares directly from a pan rather than slicing into wedges. Chill it overnight minimum. The gelatin is what gives this a proper, firm texture.
Yes, but note that agar sets firmer and differently than gelatin. Use about half the amount (1 tsp agar powder) dissolved in warm milk. The texture may be slightly different but it will set.
This is the most common issue with no bake cheesecakes, and it’s exactly why this recipe uses gelatin. If you skipped the gelatin, that’s likely the issue. Other causes include: cream cheese that wasn’t softened properly, cottage cheese that wasn’t blended smooth, or not enough chill time. Give it a full overnight in the fridge before slicing.
Technically, you can put a no-bake cheesecake in the freezer for 30 to 45 minutes to speed things up, but I wouldn’t recommend it. If you leave it in the freezer too long, the edges will freeze solid while the center stays soft. Plus, because this recipe uses gelatin to get those clean, sturdy slices, it really needs a slow chill in the fridge to set properly. I recommend letting it set in the fridge for the full 4 hours for the best texture.
More Biscoff Recipes You’ll Love:


I’d love to hear how your baking turned out!
Leave a review and star rating to let me know what you think.
follow along

This looks so good! I loooovve biscoff and i love that its high protein! Gonna give this a try soon.
Thank you Rita – I hope you love it as much as we do!
This looks so yummy! I can’t wait to make this soon.
I can’t wait for you to try it!
Wow! What a creative way to make this. I need to try this. It sounds yummy. Thanks.
Thank you Mary Ann!