Capturing Cake Magic: 10 Tips for the Home Baker to Capture Stunning Cake Images in Natural Light
Get the tools you need to find natural light in your home and take your photos of your cakes to the next level.
*This page contains referral links for products I use and love. As an Amazon Associate, The Sprinkled Cakery earns a small commission on these links at no cost to you. Read my full disclosure here.
As cake decorators, we pour our passion into every meticulously crafted detail. Yet, translating that awe-inspiring beauty into equally stunning photographs can be a challenge, especially when relying on artificial lighting or less-than-ideal settings.
But fear not! Today, we embark on a delicious journey to unveil the secrets of capturing your cake masterpieces in the most enchanting light – natural light right in the comfort of your own home.
Whether you’re a seasoned pro or just starting your cake decorating adventure, the power of natural light can transform your cake photography game. Imagine capturing the rich textures of your buttercream, the glint of edible gold leaf, or the vibrant hues of your meticulously piped florals—all using the beauty of natural daylight.
Get ready to elevate your photography skills as we dive into the world of natural light, sharing tips, tricks, and techniques tailored for cake decorators. Let’s turn your kitchen into a photo studio, where every cake becomes a work of art, beautifully captured and ready to be shared with the world. Are you ready to make your cakes shine? Let’s sprinkle some magic onto your photography journey!
Finding natural light
Before we get to the tips, we have to talk about finding natural light. One of the best ways to find natural light in your home is to take a day or two and observe it around your house. Turn off all the lights in your home for a full day and open all the blinds and curtains. Then, each hour or two, do a walk around your home and observe the way the light falls in each room.
Pay attention to what room is the brightest at what times, what room has perfect pools of natural light to place your cakes in, what room has perfect shadows for those moody shots, etc.
Natural light will be different in each room at different times. Once you figure out the light patterns in your home, you can take advantage of them to create the pictures you want.
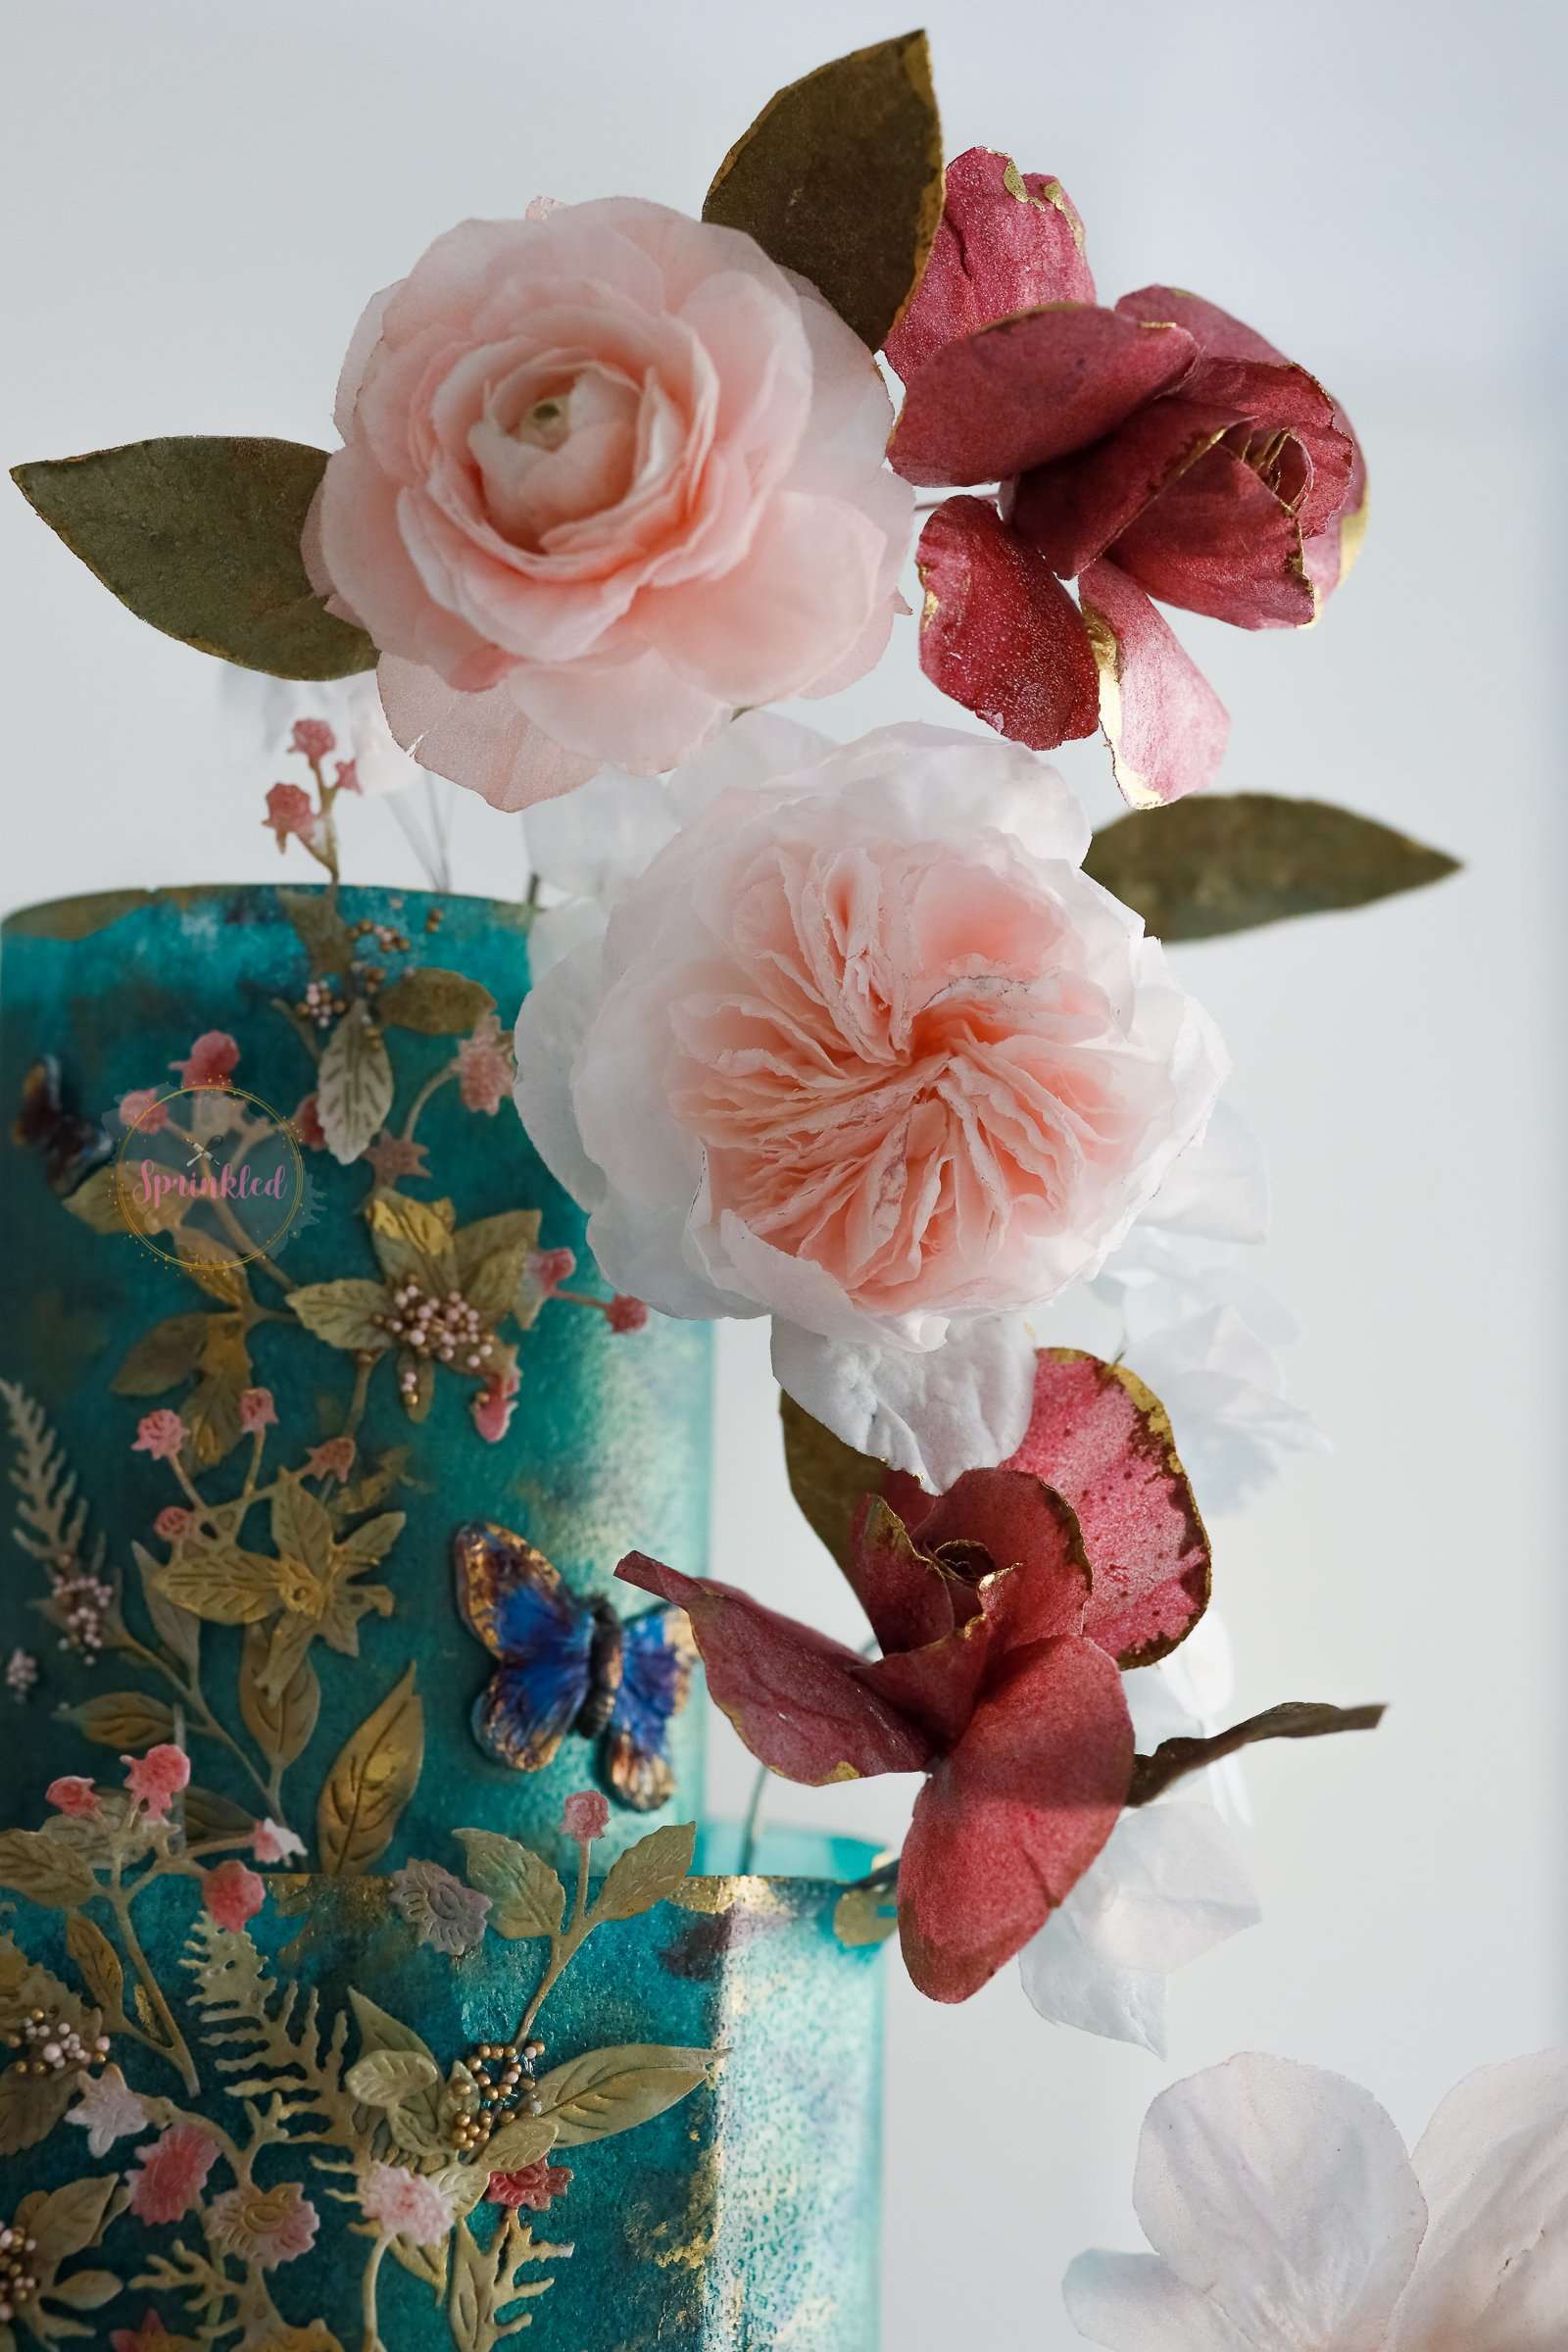
For example, if you want a bright and airy picture like the first image below, you’ll want to take your pictures in a room that has bright natural light. If you want to take more of a moody picture like the second, you might want to take your picture at golden hour, when the sun is setting, in a pool of light coming in through one of the windows.

10 Tips for the Home Baker to Capture Stunning Cake Images in Natural Light
- Choose the Right Location:
Position your cake near a large window or glass door to maximize the natural light. This will provide a soft, diffused illumination that minimizes harsh shadows and highlights, ensuring your cake details are beautifully showcased. - Create your Background:
Decide if your cake is more into chill neutrals or high-energy fun. I, personally, vibe with a clean, white wall for that chic, modern flair. But hey, go wild! Foam boards, Bristol boards, scarves, linens, cake stands – they’re all can add interesting elements to your image. You can even buy small backdrops online if you’d like something more permanent. This is a great plain white backdrop or you can get a set with multiple options to play around. - Experiment with Angles:
Explore different angles to find the most flattering perspective for your cake. Experiment with overhead shots, close-ups, and eye-level angles to highlight various design elements. Don’t be afraid to get creative! - Use Reflectors:
Enhance natural light by strategically placing white foam boards or reflective surfaces opposite the light source. This helps bounce light onto the darker side of the cake, reducing shadows and creating a more balanced look. Rooms with white walls, bedding or furniture can also help you reflect the light to create beautiful soft lighting or get rid of unwanted shadows. Similarly, putting sheer curtains or another soft white material in front of the light source can help diffuse and soften the light even further. I personally love this 5 in 1 from Neewer. It includes 5 different reflectors (silver, gold, white, black, and translucent fabric) and collapses to a small size that fits into a convenient carrying case. - Mind the Shadows:
Be mindful of the direction and intensity of shadows. Position your cake so that shadows fall in a visually appealing way or use diffusers to soften harsh sunlight if shooting during the day. Keep in mind that we don’t want to eliminate all shadows. It’s good to have some shadows in your pictures so that they are not flat. Shadows help create depth and mood which you may want to portray with some cakes. Playing with light and shadows help you tell a story in your pictures and pictures that tell stories are often the most captivating and powerful. - Invest in Quality Photography Equipment:
While a professional camera is ideal, even a smartphone with a good camera can produce impressive results. Pay attention to composition, focus, and exposure settings to ensure your cake is captured in all its glory. - Natural Props for Enhancement:
Consider incorporating natural elements like flowers, herbs, or fruits that complement your cake’s theme. These elements not only add visual interest but also enhance the overall composition. - Set Your White Balance:
Adjust your camera’s white balance settings to ensure accurate color representation. Natural light can have different color temperatures at different times of the day, so be mindful of any color casts that may affect your cake’s appearance. - Tell a Story:
Capture the process of creating and enjoying the cake. Include shots of ingredients, preparation, and even people enjoying the finished product. This adds a narrative to your photos, making them more engaging and personal. - Shoot with your Aperture Wide Open if Using a Camera:
Having a wide-open aperture means to have a low aperture (f-stop) number. The wider your aperture is, the more light you’re letting in. Plus, when you shoot with a wide-open aperture, your cake will be the main focus of the image while the background is soft, blurry and oh so dreamy. The perfect insta-worthy images!
Play around with my tips until you find what works for you and your style. And don’t be afraid to change it up. My photography style has evolved and changed a lot over the years – and sometimes even changes day by day. Remember, each cake is a unique work of art, and capturing it in the right light can make all the difference. With these tips, you’ll be well on your way to creating mouthwatering photographs that showcase the true beauty of your delicious creations. Happy shooting!
P.S. I’d love to see your stunning cake images you took using my tips! Follow @thesprinkledcakery and tag #thesprinkledcakery.